Part of maintaining a healthy running car is making sure it is up to date with oil changes. In fact, having clean oil and changing it out regularly is one of the most important parts of the overall functionality of the car. Most oil changes cost anywhere from $20-$40 depending on where you go and which brand of oil you want to buy for your vehicle. Therefore, it may be more beneficial to just take things in to your own hands at home. Once you change your oil yourself it will be easy to remember, cost effective and the process shouldn’t take much time.
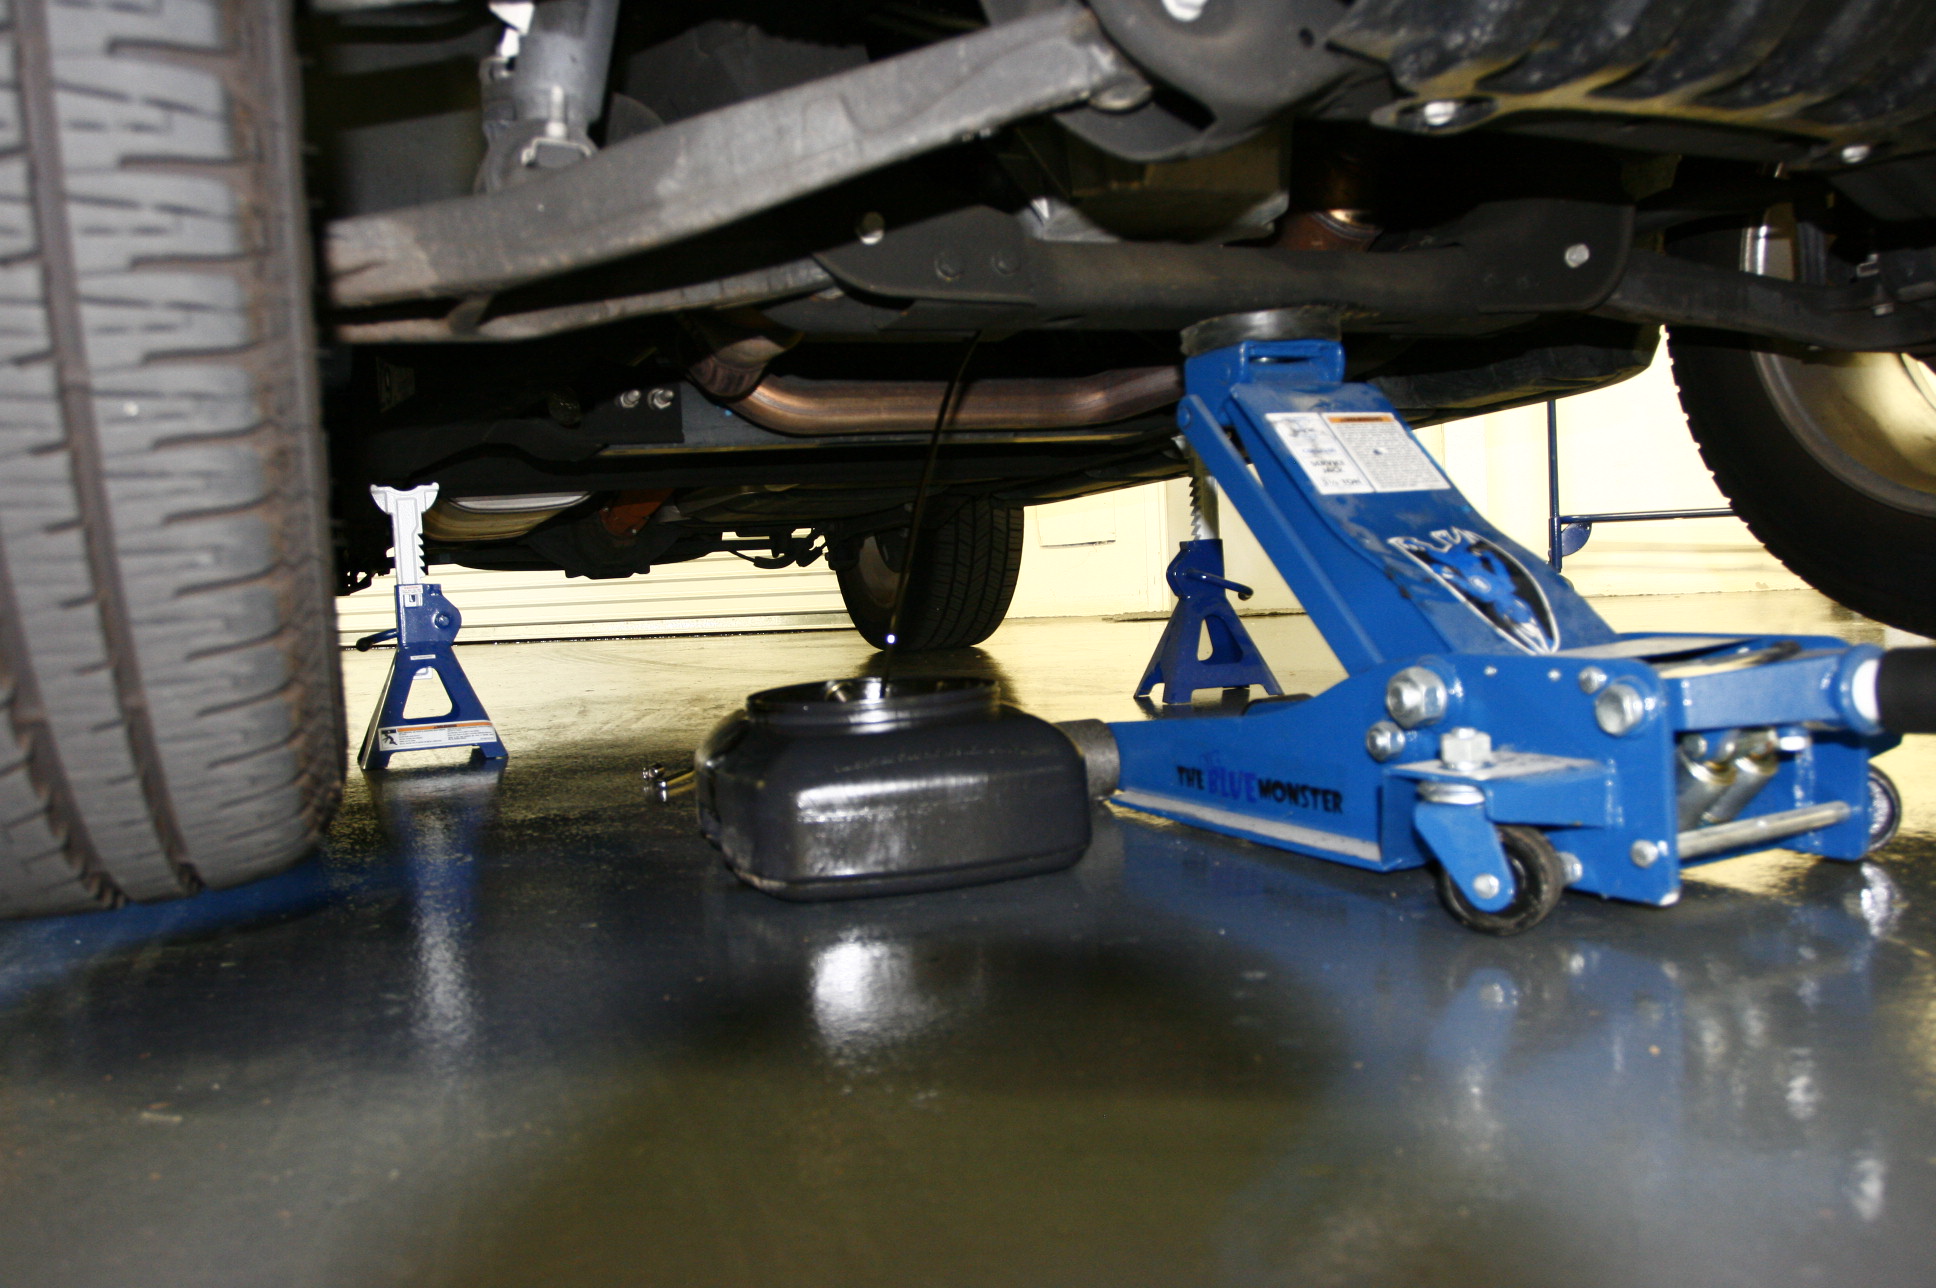
1. Locate the drain plug under the oil pan near the bottom of the engine. If it is looking really difficult to reach you may need to get underneath your car or jack up that end of the car. Take an empty container and place it under the oil drain plug. This is where the oil inside the vehicle already will dispense out of; so make sure that it will be able to hold the oil. Next, unscrew the drain plug and allow it to fill up the empty container. Make sure you move your hands quickly right after doing this so you don’t get oil on you.

2. Next it’s time to unscrew the filter. You will need a wrench for this job, and you will have to turn it counterclockwise to get the screw loose. As you take the cap off, be careful not to spill any of the oil that is currently inside the filter itself. Take the filter and drain the oil from it into a drain pan. An empty filter is recyclable, and if you would like to you can take it to a recycling center.
3. The next step is to go ahead and open your new bottle of oil. Before pouring it in, you will want to test it and use the oil to dampen the new oil filter’s gasket. After this, put in your new filter where the old one used to be. Once this is completed, be sure to clean up all the oil spills, if there are any, in the area. It can be very dangerous to step and slip in the oil, so as a safety precaution always wipe the floor clean.
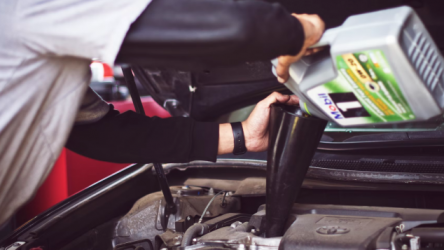
4. One the filter is in place, it’s time to replace the oil drain plug, and then tighten it up again with the wrench that you used earlier. Slowly, pour all the oil except for 1 quart of it into the oil filler hole. The reason you will want to take your time with putting the oil in is because it can be quick to overfill, so in order to avoid this go slowly.
5. After the oil is in make sure there are no leaks around the oil drain plug or the filter, then replace the oil filler cap and start your engine, allowing it to run between 30 and 60 seconds. Then, turn off your engine and let it sit and settle there for about 10 minutes so that the oil has a chance to sort itself out in the pan. At this point you will have to keep checking the oil levels and add in a little bit at a time until you reach the “Full” line on your dipstick.
6. Lastly, take your car for a quick spin to make sure everything is running properly with the new oil. Once you get back, double check that your oil line has remained at the full level with your dipstick. If this is the case, then you have successfully changed your own oil.
Written by Marc Laferierre, owner of Dents Unlimited. Dents Unlimited offers the best auto repair Columbia MO has to offer!