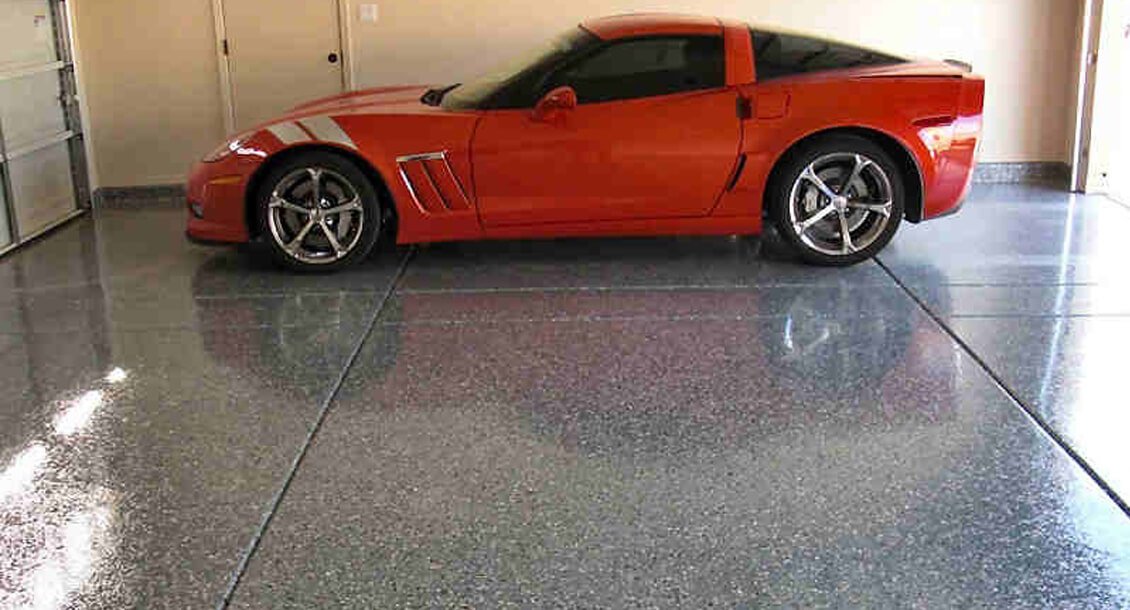
Pits, craters or cracks on your garage floor are not going to just disappear. There is no reason to hold off resurfacing of concrete because it really isn’t that difficult and costly to do it on your own. Usually, it takes more time just to clean a garage than to resurface it. We are going to show you step by step how to get the job done on your own.

Buy the materials
First, you will need to do a little shopping. You’ll need a pressure washer, concrete cleaner, a brush, push broom and a floor squeegee. It’s important to buy enough concrete resurfacing material to cover the entire floor, so determine how many bags you need based on the coverage specs. Aside from basic tools like a hammer and chisel, you will also need plastic sheeting and protective gear.
Clean the slab
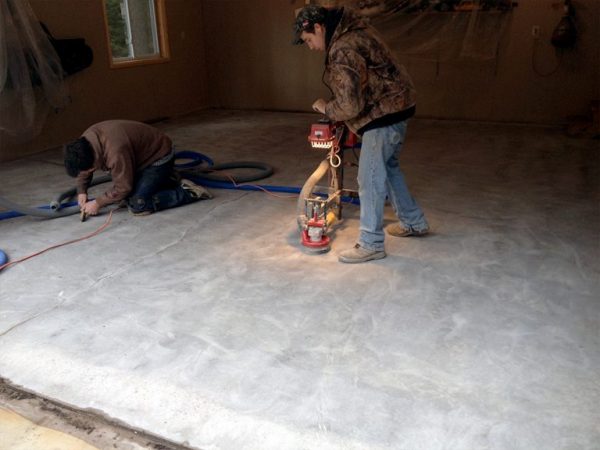
Cleaning the resurfacing area is crucial because resurfacer will stick better if the concrete is clean. So, if you see any oil stains, wax, sealers, or anything that would be considered as a bond breaker – clean it! Once you do so, apply cleaner to the whole slab with the brush. Star in the back of the garage and fire up the pressure of the water. However, you may find that the cleaner doesn’t soak into the concrete, which means that you have a sealer over the concrete that you’ll need to remove. If that is the case, you may have to remove the sealer first. Furthermore, a potent concrete grinder can help you clean the slab easily. It will remove dirt, paint or deposits from concrete floors, and prepare it for resurfacing better than any human can.
Fill deep holes and cracks
When you are sure that everything is clean, now is the time to find and mark the deep pits and divots. If the sprayer has loosened any piece of concrete, chip them away and collect the debris as you go. Next, it’s time to mix some resurfacer and push it into the cracks. You can use a cement trowel flush to smooth it on the surface.
Nevertheless, you may have expansion joints cut into the existing slab. If that is the case, you will have to push a weather strip into the joint in order to maintain it. Also, if you don’t have a control joint, you can glue a length of weather strip to the slab in order to define a stopping point. Make sure that the slab is dry so your adhesive will work well.
Mix and spread the resurfacer
This is a two-person job, so you will have to find someone to mix the resurfacer while you’re spreading it. After the initial mixing, you have to let the mix “sit” in the bucket for a few minutes and then mix even harder. If you do so, you will have smooth, lump-free mix. Next, saturate the concrete with water and use a broom to cover all areas. The concrete should be damp, but not wet to the touch. Now you have to work quickly and carefully – pour the mix into a puddle on the slab and immediately spread it. Smoothen the resurfacer along the side walls by pulling the squeegee toward you. Furthermore, use your steel trowel to gently blend the resurfacer against the weather strip.

Final touch
For non-slip texture, you should gently drag a clean push broom in one direction across the material. After that, let the mix set up and don’t touch it. You can mist the hardened surface, because it will allow the resurfacer to fully harden if you keep it damp longer. If after few hours you can still see pits, you should consider applying a second coat. Nevertheless, you should wait at least 24 hours before driving inside your garage.
As a first-timer, it’s normal to end up with a few rough spots and small ridges. Don’t be hard on yourself because your flour will definitely look much better than before resurfacing. After all, you can always add a second coat if you make a mistake.